Tips to photograph textile art
Presenting your textile art is more important than ever before. Entire careers can be made from your online presence but for many artists
showing the detail and real colours of their work can be a challenge.
I caught up with photographer and web designer Katie Vandyck for some tips on how to get the best from your artwork. Here is a brief summary
of her very helpful blog post (see below for the link). Feel free to download the image above as a checklist.
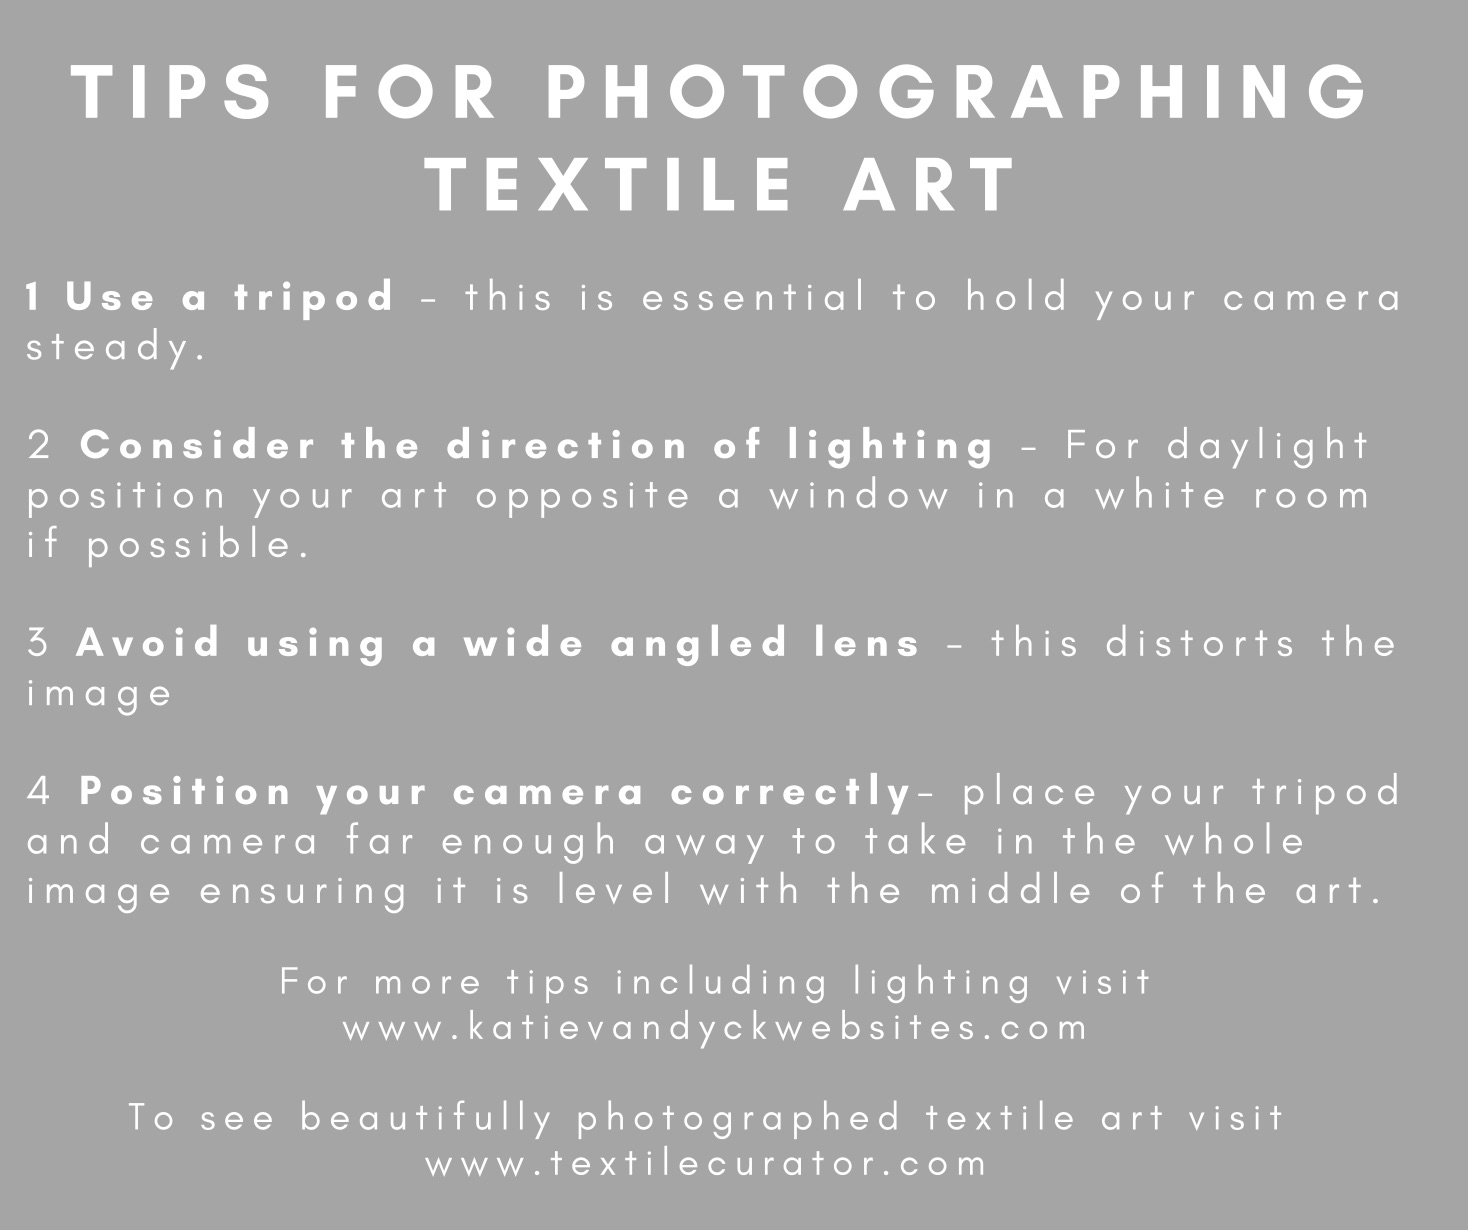
1. USE A TRIPOD – Lighting is key to making your art look amazing a tripod is essential for holding your camera steady while the camera deals with the shutter speed. They don’t have to be brand new. If you look on second hand sites you can usually pick them up for a reasonable amount.
2. DIRECTION OF LIGHTING – When using daylight position your textiles opposite a window in a white room if possible as it gives no colour cast to your image.
3. AVOID USING A WIDE ANGLED LENS – This causes distortion.
4. POSTIONING YOUR TRIPOD – Place your tripod far enough back to take in the whole image and ensure your camera is level with the middle of the image.
Katie explains this perfectly and in more detail (including lighting) on the blog on her website at https://katievandyckwebsites.co.uk
No Comments